How to fix water damaged drywall or ceiling
If rain penetrates the roof of your house or a pipe leaks through your attic or an upstairs, the result is usually easily visible somewhere in the ceiling below the problem spot. The water drips or runs down and eventually lands on the top surface of the ceiling material, usually drywall or plaster. There it pools and spreads until it finds a place to continue its downward journey. With drywall, this place is usually a seam between the panels of the ceiling. If the ceiling is plaster, water usually accumulates to saturate the surface enough to seep flat.
The resulting damage can be pretty ugly. If the incipient water leaks are small, the humidity discolors the ceiling. And water breaks the integrity of the ceiling material. If the moisture is allowed to remain for several days, mold can form. That's why it pays to fix the problem quickly. If the problem is chronic, it may require detailed care.
- If you have access to an attic above the drip, go inside and find the roof leak. Try not to put bucket-like water collectors under the leak and dry it with a cloth.
- If you can't get into an attic above the leak and the water is dripping down from a spot in the ceiling, place a bucket on the floor below the drip. Prevent water from pooling and spreading by drilling a small hole into the surface of the ceiling with a nail or an ice pick and allowing the water in the pool to flow into the bucket.
- If you can repair the roof to stop the leak, do it right away and seek help from a roof repair service.
- Wait for the damp spot on the ceiling to dry. Then use a narrow putty knife to remove any spilled paint or drywall. After the repaired area dries, apply the stain adhesive and paint it again.
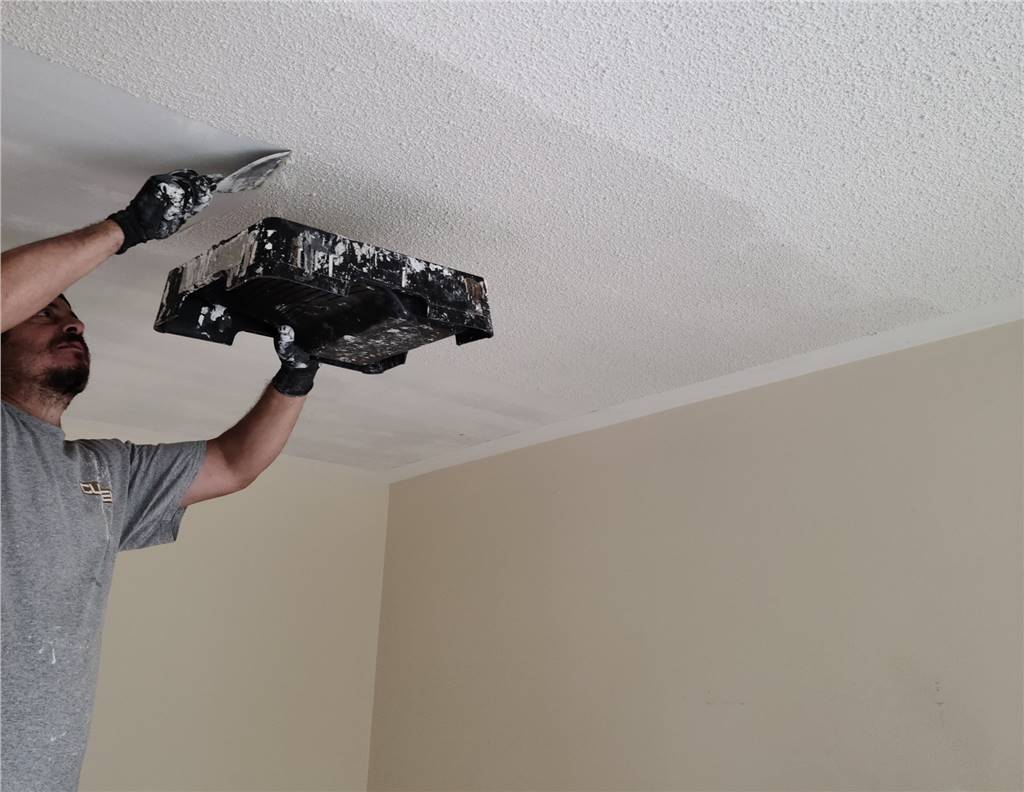
- Most drywall repairs are a simple process consisting of patch holes, filler holes. It only requires basic tools and some drywall joint compound. You should also be prepared to touch up or paint the repaired area.
How to Repair Drywall?
Minor imperfections such as potholes and small nail holes can be repaired by filling the area with compound after sanding. Choose a putty knife that is properly sized for the damaged area, and if multiple coats of compound are required, be sure to allow each coat to dry completely between applications. Burst nails can be fixed by touching the popped nail under the surface of the wall and then driving a second nail or drywall screw alongside the first nail to hold it in place. Dimples can be filled with joint compound. You can find more information about these repairs below.
Fixing Holes in Drywall
Making holes in drywall is easy, luckily, it's easy to fix.
- Repairing a large hole in drywall involves installing the backing, then filling it with spackling compound.
- Fill a small hole to fix it, but first lightly smooth the surface with a hammer to create a gap.
- Clean the hole and moisten it with a sponge. Apply the compound with a 3-inch putty knife, scratching it neatly over the notch, flush with the surface of the wall.
- If a wall has a large dent or hole, the damaged area should be replaced with a new piece of drywall of the same thickness. Tricks in the construction of this well.
1) Securely fix the new spare part even where the wall studs are not attached.
2) Blending the new piece of drywall with the rest of the surface so that it looks seamless.
A utility knife is used to make straight cuts in drywall. For deeper or larger holes, drywall repair kits are sold, which usually contain simple metal clips that support a spare or some sort of backing that inserts into the hole and suspends itself while covering it with joint compound.
Before applying the patch, you cut the hole in the wall into a rectangular shape that fits the patch using a utility knife, jigsaw, or jigsaw. If you use a utility knife, you will have to repeatedly draw along a flat to cut all the way through the drywall.
This patch is made from a small piece of drywall. You can also make your own backerboard from a piece of scrap plywood or drywall. Thoroughly coat the backing board with joint sealant and use a string to hold it in place while the compound dries. Then cut the string and use more compound to fix the repair as detailed above.
If the hole is deep, allow the patch to dry, sand lightly with 120-grit sandpaper, and reapply the spackling compound. Sand very lightly and then touch up with the appropriate paint.
If the hole is too large, it's usually better to cut the drywall back into a stud on either side of the break. Use a screw gun to drive 2-by-4 nails into the open face of each stud and then cut a new piece of drywall to fit the opening. Tape and join all joints as with new drywall installation.
The best way to install the replacement will depend on its size and whether there are wall studs supporting it. Once the spare part is securely fixed, it usually takes three applications of drywall grout to mix in the surface so that the repair goes unnoticed. This process may take several days as the area must dry completely after each application.
To do this, your supplies will contain ready-mixed compound compound; Perforated or braided 2-inch drywall tape; Tapes in 4-, 6-, and 10-inch sizes; and you can use 400 grit sandpaper.
Load the 4-inch serrated knife blade about halfway with grout and apply it to the seams, holding the blade at a 45-degree angle. After the first coat is completely dry, usually after 24 hours, apply the next coat with a 6-inch blade. Do the same for the third layer, only this time using a 10-inch blade. Finally, smooth the surface when completely dry with a wet sponge and sand the seams with sandpaper wrapped around the sanding block.
Fixing Drywall Cracks
Hairline cracks in drywall, especially in the upper corners of windows and doors, indicate that the wall framing has settled or moved a bit – a common occurrence and easy to repair. However, if the crack is not properly repaired, it is likely to reappear.
1) Using a utility knife with a sharp blade, expand the crack in the drywall so you have a V-shaped profile that will accept compound easily.
2) Using a wide-pointed putty knife, spread the grouting material over the gutter so it fills the area and covers an inch or two on either side. Fix the compound and then let it dry.
3) Apply self-adhesive fiberglass joint tape over the gutter.
4) Using a 5-inch drywall blade, completely coat the tape with a second coat of joint sealant, "feathering" the compound evenly and evenly several inches beyond the previous coat. Wait for it to dry.
5) Sand the area smooth with fine sandpaper. (Do not sand the tape, be careful not to scratch the paper surface of the surrounding wall covering.)
6) Touch up with paint to match, or repaint the entire wall for a completely hassle-free


